

Upspec News
Introduction to Shed Installation: Getting Started
Before you start hammering away, it’s crucial to understand the shed installation process. Think of it as a road trip; you wouldn’t take off without a map. First, decide where your shed will go. It needs to be on stable, flat ground to ensure a long lifespan. Check for underground pipes or cables; the last thing you want is to turn a simple setup into a major repair job. Next, consider the design. And yes, size matters – think about what you’ll store in the shed and pick a size that suits. Finally, check local building codes, because nobody likes unwanted surprises from city officials. Get these basics sorted, and you’ll be on your way to adding a practical new space to your property.
Evaluating Your Space: Choosing the Right Location
Before you start building your shed, take a hard look at your yard. You want a spot that’s flat enough so you won’t need to level the ground too much. Also, make sure it’s not in an area where water pools when it rains. You don’t want your shed sinking or getting flooded. Keep it at a distance from property lines and check local building codes—don’t get fined for sticking your shed where it shouldn’t be. Look up and around, too. Steer clear of planting your shed under trees. Falling branches can wreck the roof, and root growth might mess with the foundation. And think about the sun. If your shed’s for plants or you just want it warm, you’ll need a spot that gets plenty of light. Choose wisely, because once it’s up, you’re not going to want to move it.Shed Installation approvals: Do You Need Permission?
Before you start hammering away, check if you need a approval for your new shed. Yep, it’s not just a matter of picking a spot and getting to work. Your local council calls the shots here. If your shed is more than a certain size—say bigger than a breadbox, and you’ll need to check the exact measurements with your town—chances are you’ll need a thumbs up from the powers that be. Why? They want to make sure your shed is safe and not messing with city planning or your neighbor’s view. Sometimes it’s also about whether you’re hooking up electricity or plumbing. No permit required for a tiny shed though, in most places. But watch your step, even small sheds could get you in hot water if they don’t play by the zoning rules. Best bet? Give your local office a ring or look online to avoid any battles with the law. Better safe than sorry when it comes to building in your own backyard.Selecting the Perfect Shed: Types and Materials
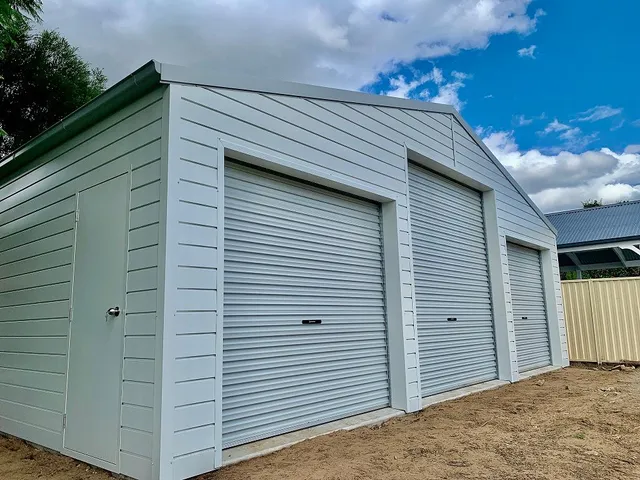
When you’re picking out your new shed, think of it like choosing a trusty toolkit—it’s got to be right for the job. Sheds come in all shapes and sizes. Metal sheds are tough as nails and fend off critters and decay without breaking a sweat but can dent and often look about as charming as a tin can. It boils down to the trifecta of durability, maintenance, and aesthetics when selecting your shed. Match these to your taste, workload, and how much you want to spend both now and on upkeep down the road, and you’ll make the right call.Preparing the Foundation: Tips for a Stable Base
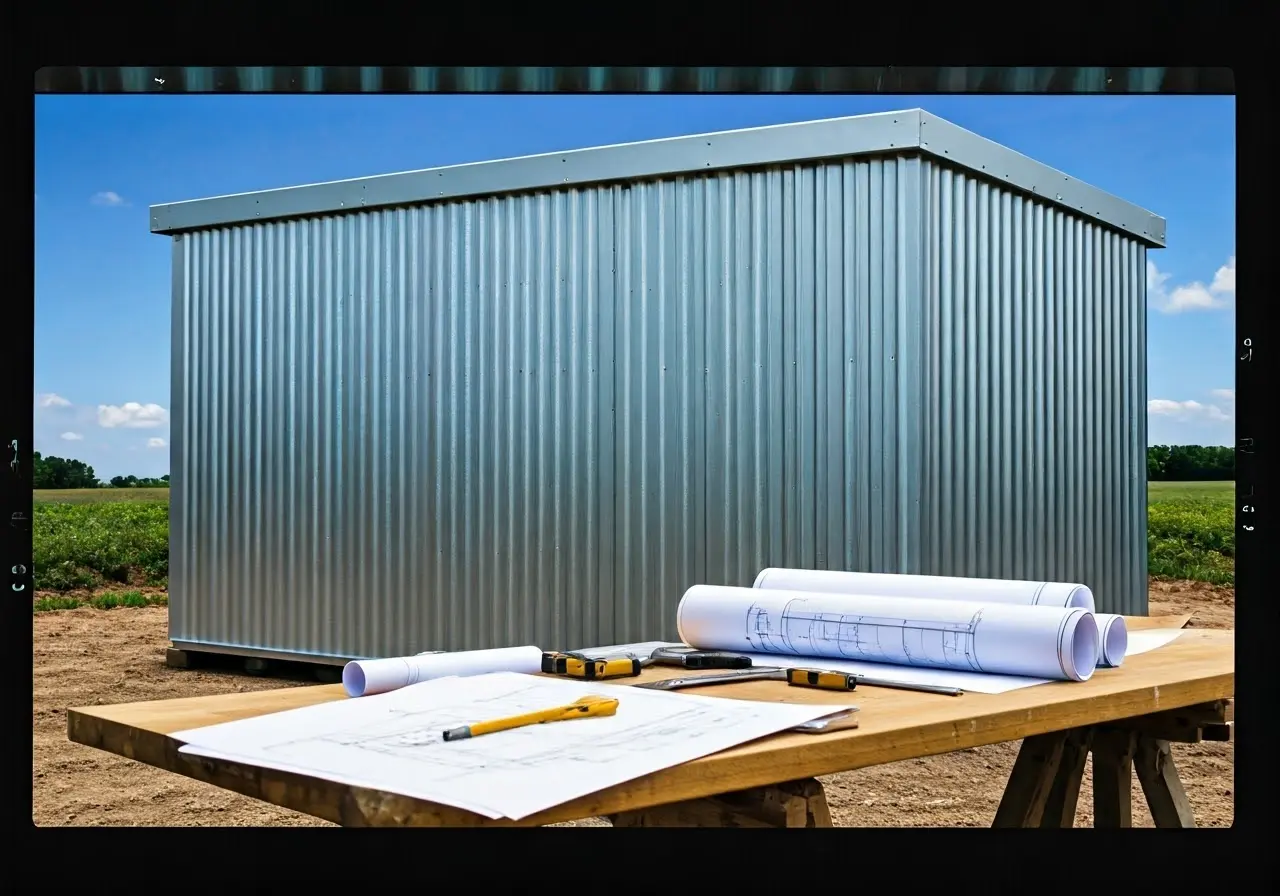
Before you start building your shed, the foundation is key. Without a solid base, you risk having a wonky shed that won’t last long. Think of it like the legs on a chair – wobbly legs make for a shaky sit. First, you need to choose the right spot. Look for flat, well-drained land to avoid water pooling around your shed. Next, clear the area of debris and rocks and level the ground – a little effort here means a whole lot of stability later. Now, it’s time to pick your foundation type. Concrete slabs are solid as a rock, but they need time to set. On the flip side, gravel beds are quicker to put together, but they might shift over time if not done right. Either way there will require concrete footings to hold the shed down. Finally, make sure your foundation is the right size for your shed. Giving it a few extra inches all around keeps it standing strong and looking good. Remember, a firm foundation is non-negotiable. Cut corners here, and you’ll be scratching your head when your shed starts to sag. Do it right, and you’ll have a top-notch shed that stands the test of time.Tools and Materials: What You’ll Need for Shed Installation
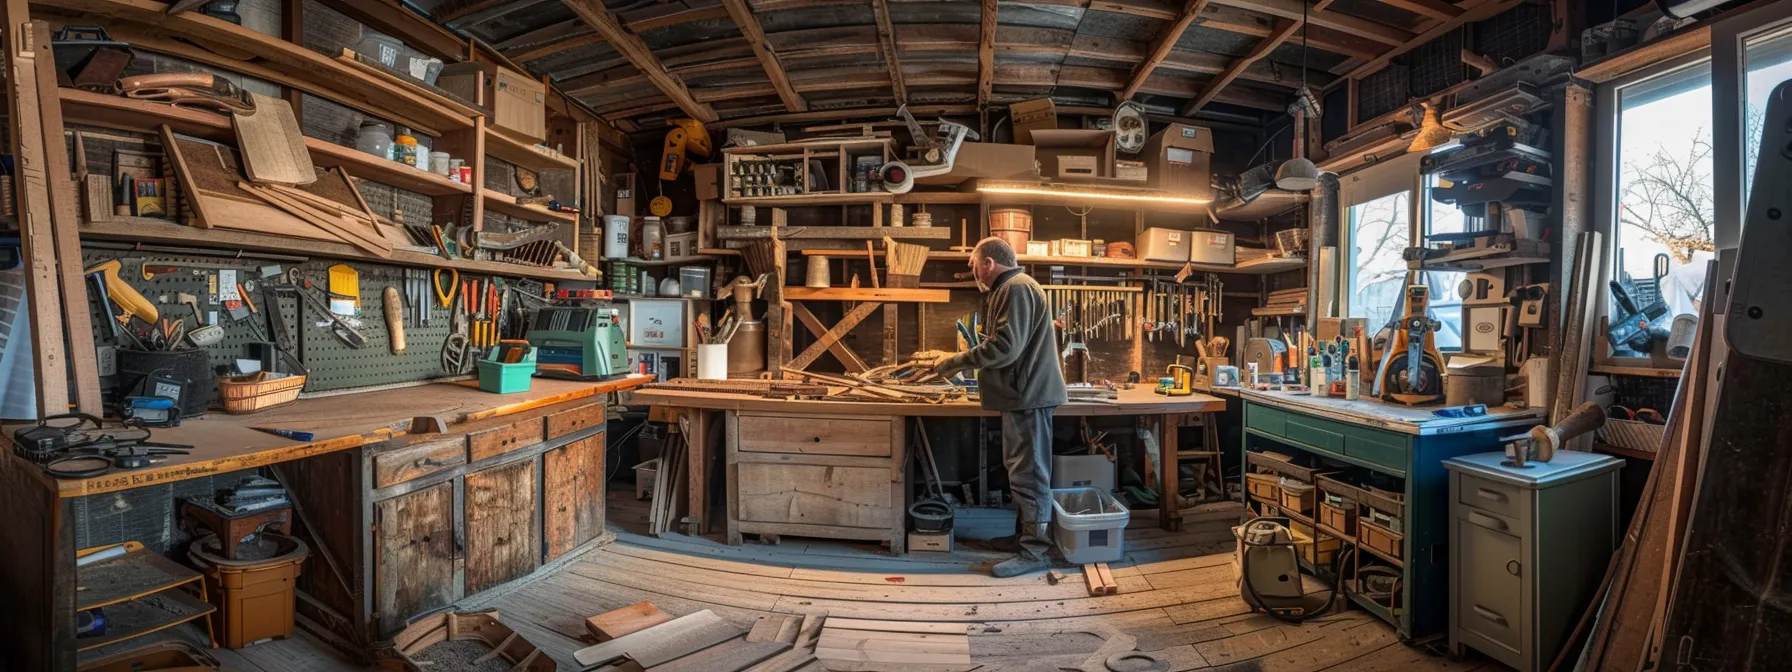
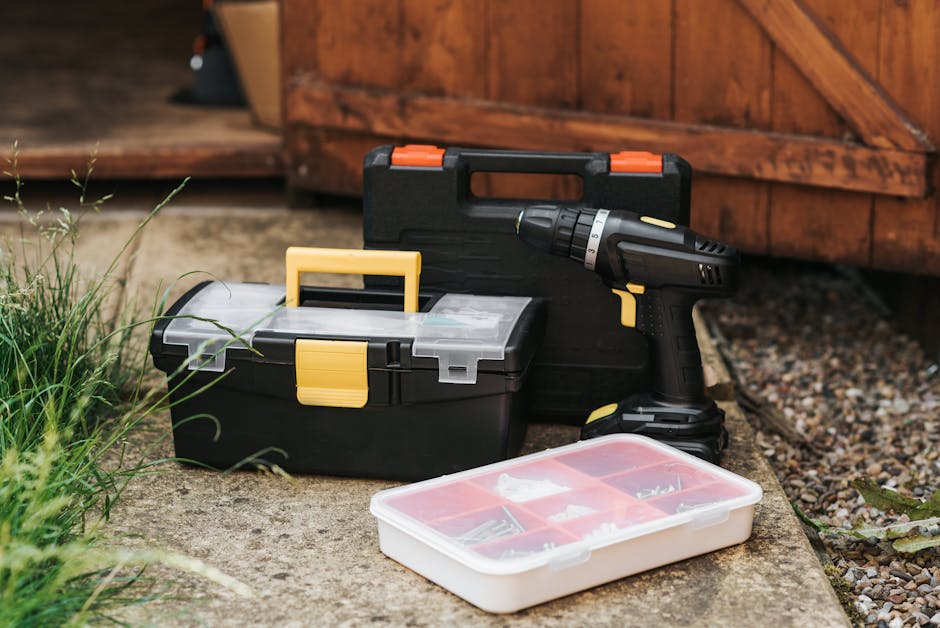
Before you start building your shed, let’s make sure you’ve got all the essential tools and materials. It’s simple. You need a good ladder, a tape measure, and a level; that’s non-negotiable. Also, keep a drill, a grinder, and a socket set. For materials, depend on your shed kit’s instructions, but generally, you’ll need wooden planks or sheets for the structure, screws, and nails. Don’t forget the anchor kit to secure your shed. With these tools and materials, you’re all set to turn that kit into a sturdy shed.Assembling Your Shed: A Step-by-Step Guide
Kick things off by making sure you have a game plan. You wouldn’t want the walls up before realizing you’ve got no roof. Start with a solid foundation; this can be concrete slab. Ensure it’s level—trust me, an uneven shed is a no-go. Once that’s set, piece together the frame. The corners should be square for a tight fit. Next up, the walls. They go up one by one—like building blocks, you played with as a kid. After the walls are sturdy, it’s roof time. Get those trusses aligned and bolted. Last comes the outer skin—wall cladding and roofing material. Fix those on, and you’re set. Each step is your milestone; hit them all, and you’ll have a shed that’s solid as a rock.Customization and Accessories: Making Your Shed Functional
When you’re decking out your shed, think about how you want to use it. Do you plan on turning it into a workshop, a garden retreat, or just extra storage space? Customizing your shed with the right accessories can turn it into the perfect spot for your needs. Add in some shelves for organization, workbenches for projects, or hooks for tools. Windows can bring in natural light, making your shed a bright and inviting space. And don’t forget about lighting and electrical outlets—they’re vital if you’ll be working in there after dark or need power for tools. Insulation is another game-changer, especially if you’ll spend a lot of time in your shed or if it’ll store temperature-sensitive items. Make your move; kit out your shed to make it the most functional it can be.Safety Considerations During Shed Installation
When you’re gearing up to install a shed, safety should be your top priority. Be wise about where you place it; avoid low-lying areas that can flood or spots near trees that could potentially fall. Make sure the ground is level to prevent structural issues down the line. Always use the right tools for the job and wear appropriate gear – think gloves and safety glasses – to prevent injuries. If you’re not experienced with heavy lifting or construction, get friends to help or consider hiring pros. Lastly, check local building codes to ensure your shed meets safety regulations. Don’t cut corners on safety; a well-built shed is worth the effort.Maintenance and Upkeep: After the Installation
Once your shed is standing strong, think about the work needed to keep it that way. Maintenance is not a big, scary task, but don’t ignore it. Regular checks can prevent surprises that no one wants. Look for signs of wear, like cracking paint or warping. Give it a good clean now and then, keep bugs and critters out, and fix any leaks or damage quickly. If it’s a wooden shed, think about treating the wood and repainting it every couple of years to keep that defense against rain and sun strong. And don’t forget, the roof and foundation are key players in the long game. Make sure they stay solid. A little bit of effort after your shed is installed means it’ll last longer and stay useful, saving you hassle and cash down the line.Share this article
Sheds
Custom Shed Building Services Sydney: Your Ultimate Guide
Custom Shed Building Services Sydney: Your Ultimate GuideAre you considering a custom shed for your property but unsure where to start? This guide on custom shed building services in Sydney will help clarify the process and benefits. Readers will learn about choosing the perfect shed design, understanding construction steps, and the advantages of hiring professionals. […]
Sheds
Design Tips for Building a Colorbond Shed in Australia: A Perfect Blend of Durability and Aesthetics
Building a Colorbond shed in Australia is an excellent investment, providing a versatile and durable structure to cater to various needs. Colorbond sheds are known for their weather-resistant properties, vibrant color choices, and low maintenance requirements. In this blog, we will explore essential design tips to
Uncategorised
Why Upspec is the perfect steel building partner for your new shed or steel building
Discover why Upspec is your ideal partner for sheds for sale in our blog ‘Why Upspec is the Perfect Steel Building Partner for Your New Shed or Steel Building’.
Shed Building
Tips on Working with a Garage Builder to Maximize Your Property’s Value
Enhance your property value by mastering the art of working with a garage builder in our insightful blog post.